Import many wallets
Fill a CSV template with your wallets, check the list, and import it in one step.
Where to find it:your-organization.conta.financeAccountsNew accountBulk wallet import
The bulk wallet import adds many wallets as accountsA wallet or an exchange account your organization controls. in one step. You fill a template, and its rows make the list. To add one or two wallets, use Add a wallet instead. Nothing is saved until you select Import, so Cancel leaves everything as it was.
Open the bulk import
- Open Accounts in the sidebar and select New account.
- Select Bulk wallet import.
The window opens on the template.
Fill the template
- Select Download template. The CSV file has one example row.
- Fill one row per wallet. Replace the example row.
- Drop the file on the window, or select it to browse.
The rows that read cleanly make the list. To change the list, upload the file again: it replaces the list.
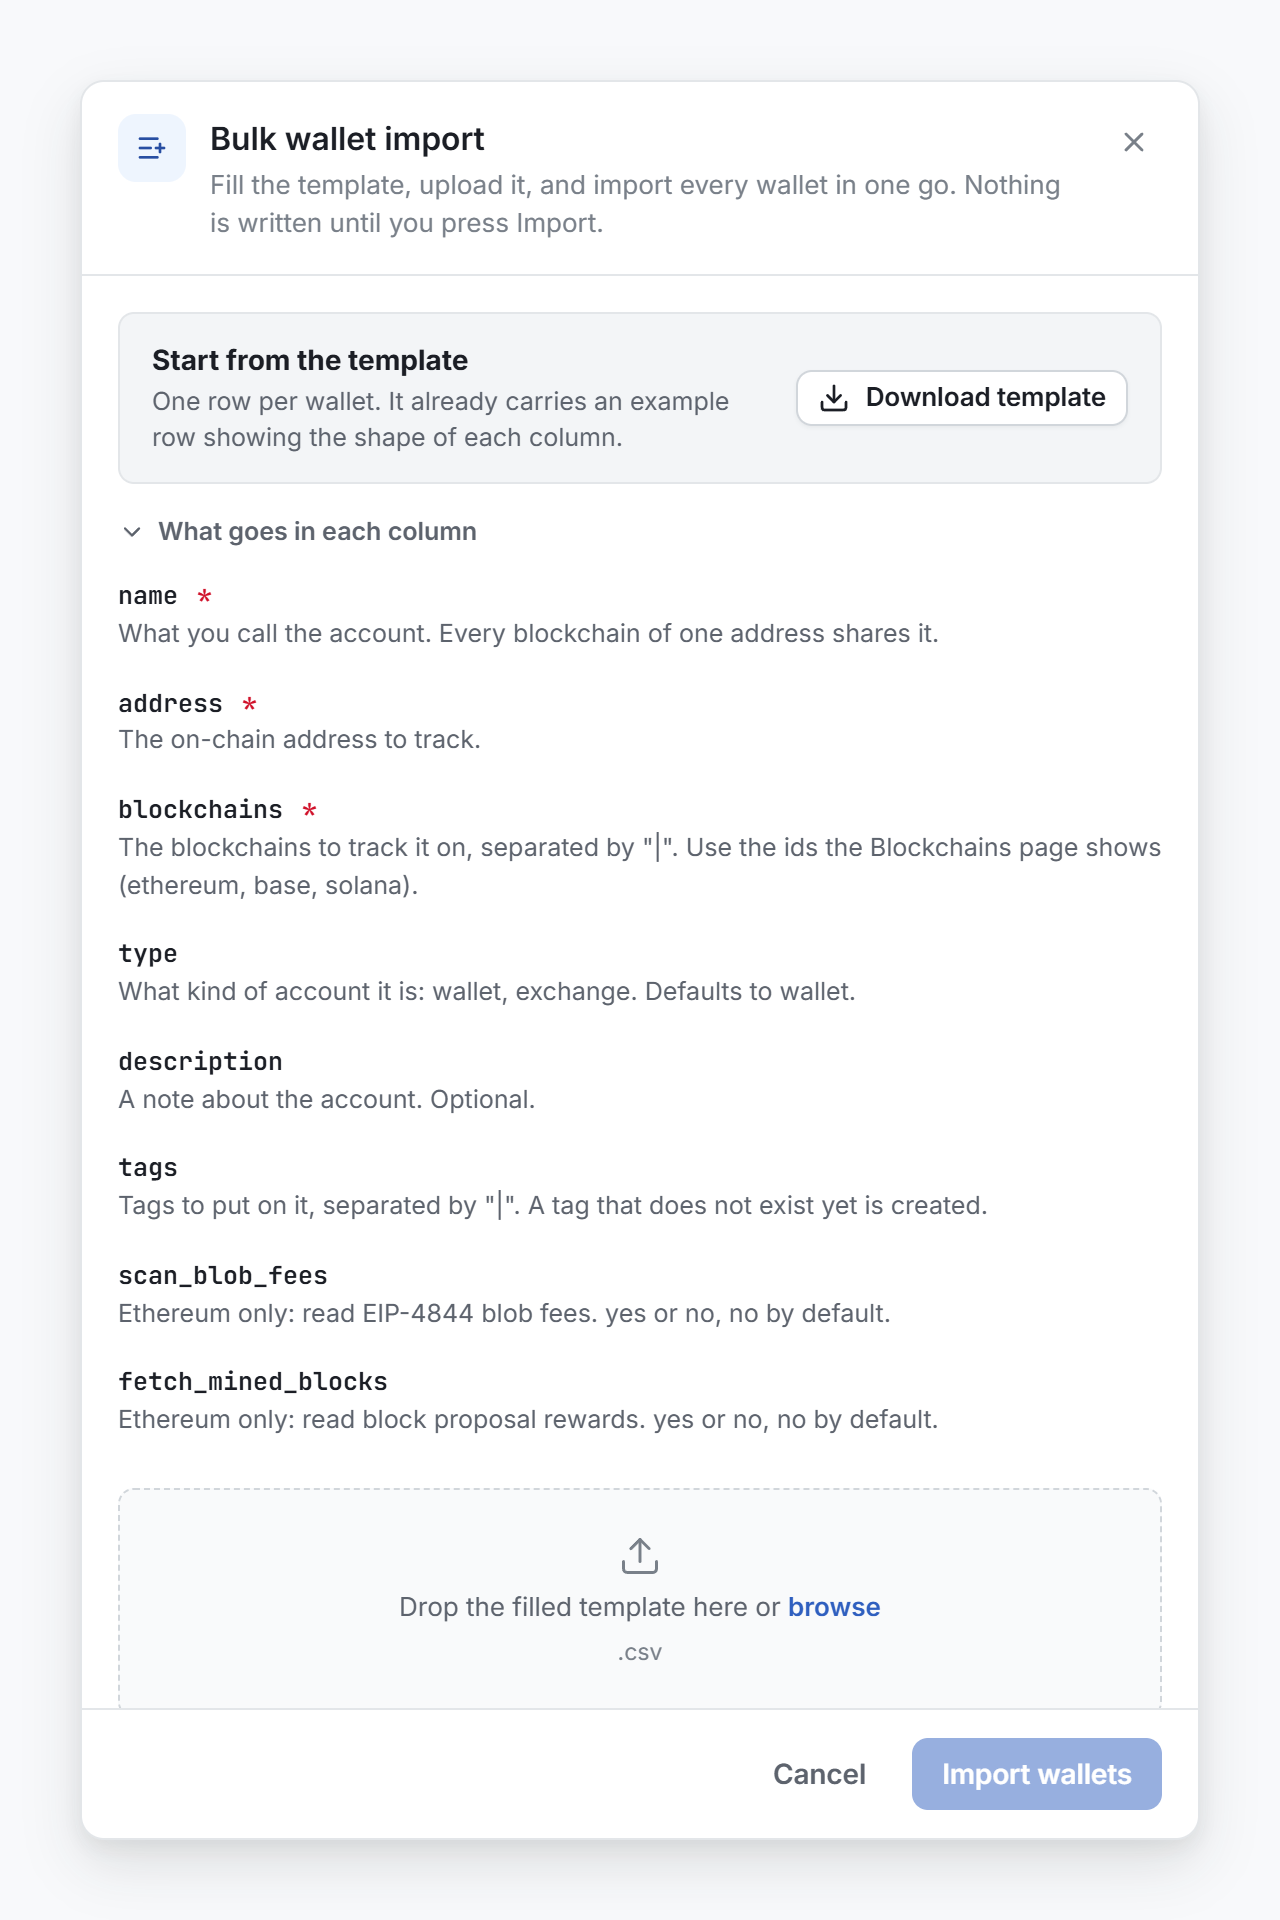
The columns
Select What goes in each column to read the same guide in the window.
| Column | Required | What goes in it |
|---|---|---|
name | Yes | The name of the account, 128 characters at most. All the blockchains of one address share it. |
address | Yes | The address to track. |
blockchains | Yes | The ids of the blockchains, such as ethereum, base or solana. |
type | No | wallet or exchange. The default is wallet. |
description | No | A note about the account. |
tags | No | The tags to put on the account. A tag that does not exist yet is created. |
scan_blob_fees | No | Ethereum only. yes or no. The default is no. |
fetch_mined_blocks | No | Ethereum only. yes or no. The default is no. |
To put more than one blockchain or tag in a cell, separate them with |, for example ethereum|base.
The file can use a comma, a semicolon or a tab between columns. The order of the columns does not matter, because Conta Finance reads them by name.
Rows with an error
Conta Finance checks every row before it adds anything. The window says how many rows are ready. Each row with an error shows its line number and the reason, for example a missing name, a name that is too long, an unknown blockchain, or an address in the wrong format for that blockchain.
- The list holds only the good rows. You can import them as they are.
- To fix the other rows, correct the file and upload it again.
Check the list
The list shows each wallet with its address, its blockchains and its tags. To take a wallet off the list, select its delete icon.
The footer counts the wallets on the list and the tracked accounts. One wallet on two blockchains counts as two tracked accounts.
Accounts you already track
When the list holds an address that you already track on that blockchain, the button reads Review … already tracked. Select it. The Accounts you already track step shows both names and the address. For each account, choose:
| Choice | What happens |
|---|---|
| Keep our name | The default. The name, the note and the type stay as they are. |
| Use the imported name | The name, the description and the type from the list replace the current ones. |
| Skip this account | The account is left out of the import. |
If the account you track has no name, the first choice reads Keep it unnamed, and Use the imported name is the default.
The tags on the list go on the account with every choice except Skip. They are added to the tags the account has. Nothing on the list changes until you select Import … accounts.
Import the list
- Select Import … wallets, or Import … accounts on the review step.
- Read the result. Wallets imported says how many were registered.
One bad row does not stop the others. Each row that failed is listed with its address, its blockchain and the reason.
The history of each account is read in the background. A notice at the top of the page shows the work while it runs. See Background tasks.